Blog development series - Setup MVP Blog with Ghost and Docker
In this post, we'll setup a MVP Blog using Ghost and Docker on Linux environment, full setup script could be founded at: https://github.com/ngtrieuvi92/mvp-ghost-blog-docker
TLDR; This is a series of post-recording & sharing the progress setup of my blog from the beginning of development to meet the needs for stable and reliable blog operation
Context
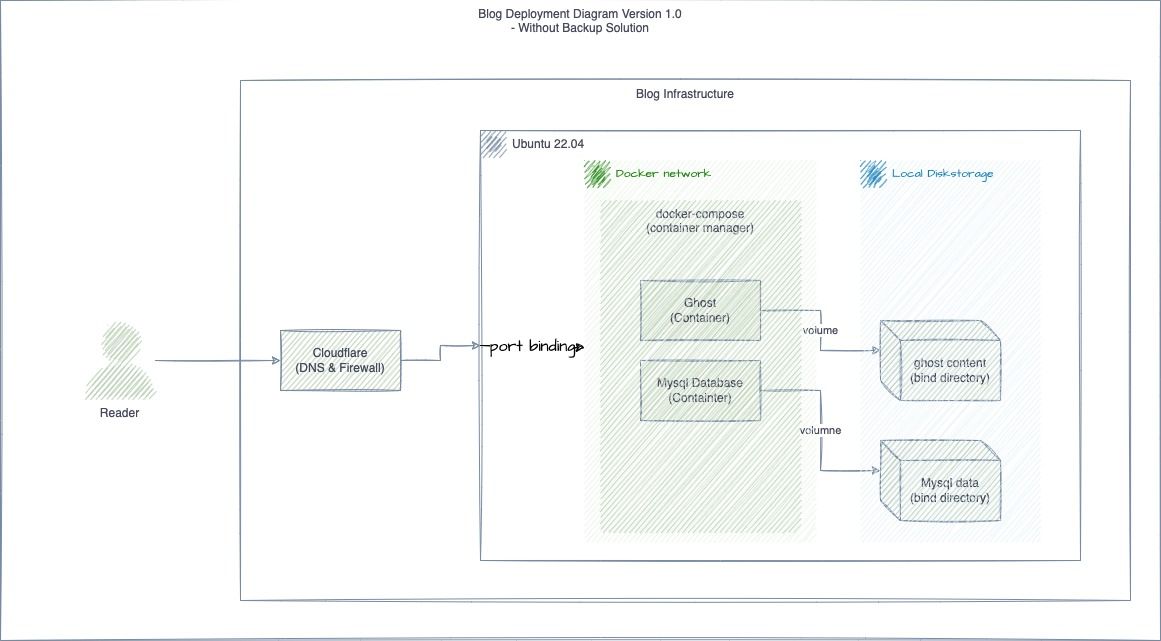
This blog is a simple monolithic application deployed with docker & managed by docker-compose running 2 containers: Ghost 5.3 & Mysql 8.0 as the diagram bellow
Series
- Blog development series - Setup MVP Blog with Ghost and Docker
- Blog development series - Setup health check Ghost Blog with Uptime Robot
- Blog development series - Backup Ghost Blog with Storj
Why Ghost?
Ghost is one of the most popular open source blogging platforms. It provide powerful features for almost everything related to blogging, such as: editing, publishing, email newsletters, and offer paid solutions for the publisher with a few click to setup.
Ghost offer pre-made themes that you can use to setup it quickly, but it also support extensive API, so you can use it as a headless CMS and build your custom frontend
You can use the cloud version of Ghost with a lot of support & feature offer from Ghost, check more at: https://ghost.org/pricing, ready to use and forcus in the content without any effort for operation. that will the best option for non-tech guy only want to have a blog to write & publish content.
Why Self-Host Ghost?
If you don't want to use solution from ghost Ghost, you can also host a blog by yourself, on that way:
- you can learn a lot of thing when operation your blog and it infrastructure, and you can get the source code
- you can to make the blog fulfill all your wishes by customizing it yourself.
Why Host Ghost blog with Docker?
You can install Ghost in several ways, one of which is Docker.
Deploying Ghost with Docker has many advantages ( with me).
- Docker/Container is a popular and standard solution to hosting everything from development to production, small scale to large scale
- With Docker, you can get a flexible and portable way to run your blog anywhere, you can spin up on another instance quickly when you need
- Your can learn a lot of things about Docker, Container, Operation, DevOps when you operation your blog in the long time.
This post will guide you through the entire process of setting up a minimal, ready to use Ghost blog with docker (MVP) to help you can start to writing your content, The guide to make Blog more reliable and high availability will mention in this series
For the full features of Ghost, check more at: https://ghost.org
Technical Stack & Deployment Diagram
Technical Stack
In this guide, we'll use:
- Ubuntu server 22.04 LTS as the based OS with firewall already setup for allow ssh, http and https.
- Cloudflare as the DNS server and SSL (reverse proxy).
- Docker & Docker-Compose: main stack for deployment
- Ghost Image:
- Mysql as the primary Database
Deployment diagram

Why I call this a MVP Blog and what is the known limitation?
MVP stand for Minimum Viable Product. In my opinion and my insight, the goal of the blog is help the publisher to writing the content the publish it to audience, that is the key feature of a blog, with the MVP scope, we need to priority this first to release it on production, bring content to use, the receive the fast feedback from audience to improve the content, the blog UI/UX, ....
Known limitation:
- Backup/Restore:
- High Performance & High Availability:
- Fulfill the UI/UX:
- Fulfill the Operation:
Setting Up Ghost with Docker
Step 1. Setup docker & docker-compose
If you have already installed Docker and Docker-Compose, then you can start with Step 2.
1.1 Install Docker
This can vary depending on the Linux distribution used.
You can use the util script provide by Docker at https://get.docker.com
curl -fsSL https://get.docker.com -o get-docker.sh
sh get-docker.sh
Or installation by the package for specific Operating System, example is for Ubuntu:
sudo apt update
sudo apt install apt-transport-https ca-certificates curl software-properties-common -y
curl -fsSL https://download.docker.com/linux/ubuntu/gpg | sudo apt-key add -

# Depending on Version:

# Ubuntu 18.04:
sudo add-apt-repository "deb [arch=amd64] https://download.docker.com/linux/ubuntu bionic stable"

# Ubuntu 20.04
sudo add-apt-repository "deb [arch=amd64] https://download.docker.com/linux/ubuntu focal stable"

sudo apt update
sudo apt upgrade -y
sudo apt install docker-ce -y
1.2 Non-root user access
Run when logged in as the user that should also be allowed to run docker:
sudo usermod -aG docker ${USER}su - ${USER}1.3 Install Docker-Compose:
sudo curl -L "https://github.com/docker/compose/releases/download/1.29.2/docker-compose-$(uname -s)-$(uname -m)" -o /usr/local/bin/docker-compose
sudo chmod +x /usr/local/bin/docker-compose
Step 2. Running the Ghost with Docker
Full script setup can be founded at: https://github.com/ngtrieuvi92/mvp-ghost-blog-docker
Create new docker-compose.yml with content bellow:
version: '3'

services:
  ghost:
    image: ghost:5.22.9
    container_name: blog_ghost
    volumes:
      - ./ghost/content:/var/lib/ghost/content:z
    ports:
      - ${PUBLIC_PORT:-2368}:2368
    restart: always
    env_file:
      - ./.env
    links:
      - mysql

  mysql:
    image: mysql:8
    container_name: blog_database
    volumes:
       - ./dbdata:/var/lib/mysql  # Persist storage
    env_file:
      - ./.env
    expose:
      - "3306"
restart: alwaysThen create and input variable for .env
###################################################
#          Ghost configuration                    #
#          All Ghost config should be put here    #
###################################################

# GHOST BLOG
NODE_ENV=production # set either production or development, then it will load the respective config
PUBLIC_PORT=80
database__client=mysql
database__connection__host=mysql
database__connection__user=a-mysql-user
database__connection__password=a-password-of-mysql-user
database__connection__database=blogdatabase

###################################################
#          Mysql configuration                    #
#          All Mysql config should be put here    #
###################################################

MYSQL_ROOT_PASSWORD=mysql-admin-password
MYSQL_USER=a-mysql-user
MYSQL_PASSWORD=a-password-of-mysql-user
MYSQL_DATABASE=blogdatabaseRun command bellow to start the blog
docker-compose up -d
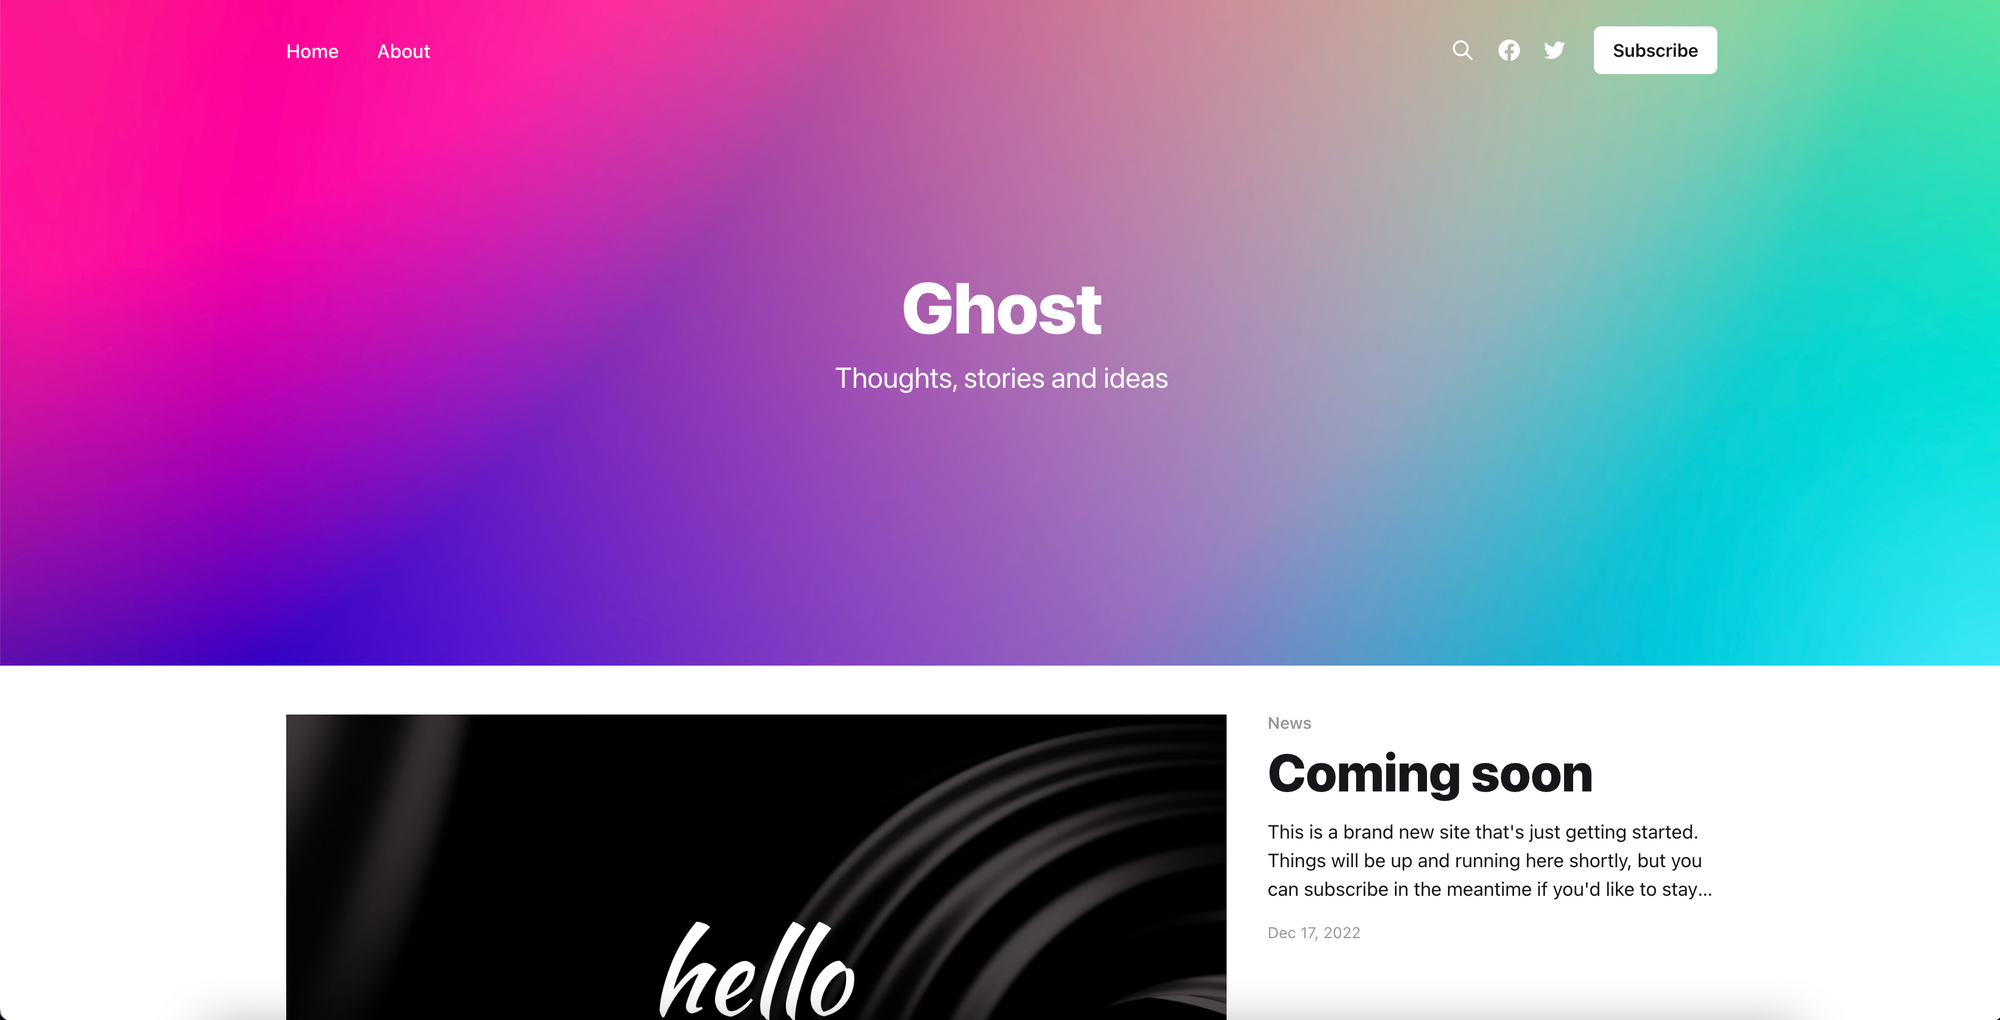
docker-compose logs -fAt the end of this step, Ghost blog up & running at the port 80 of the server, go to the browser and access it via the server IP
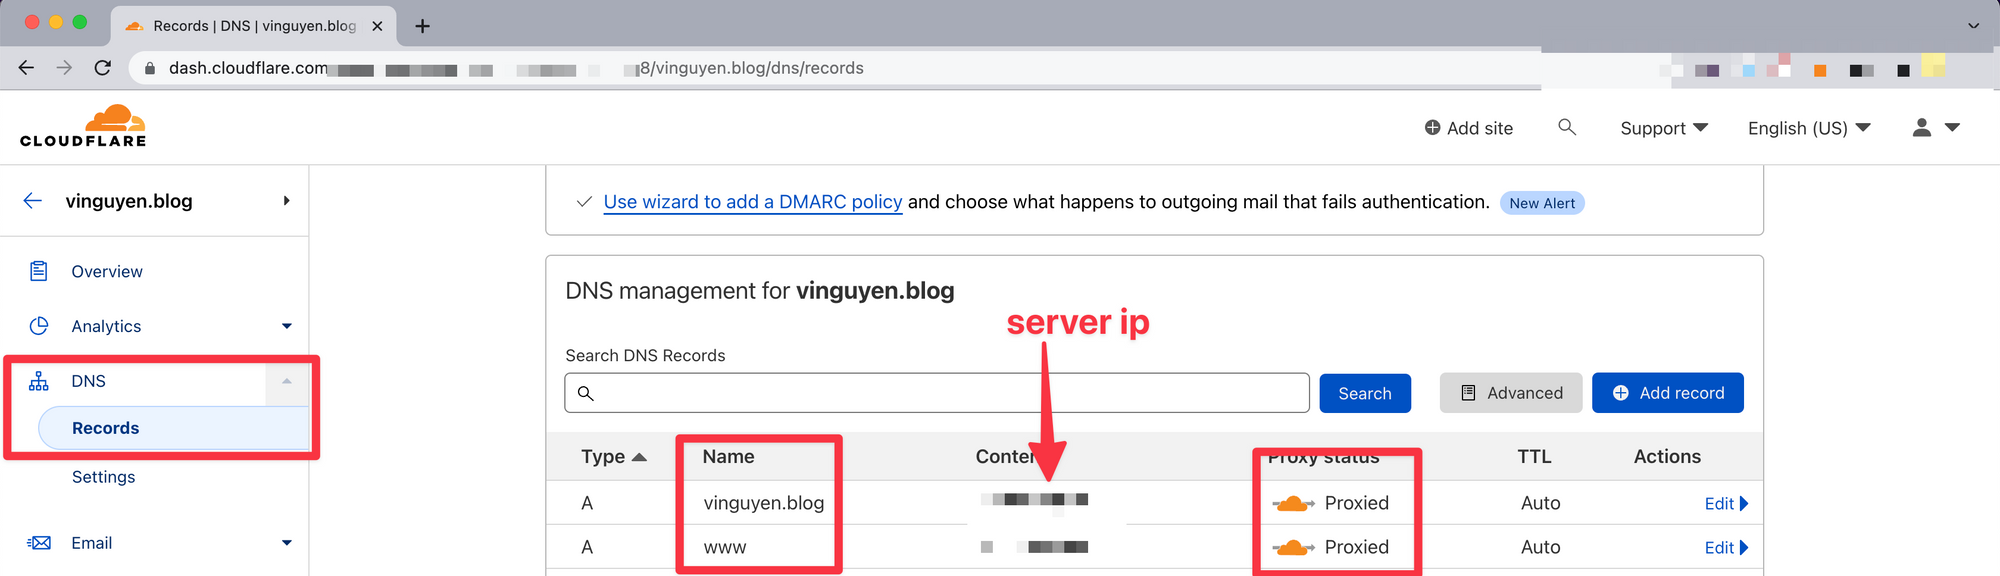
Step 3. Exposing and Securing the Ghost Blog
To make sure that the blog is easy to access by mapping a domain & secure by setup SSL:
The simple solution is use the Cloudflare service with proxied mode, mapping your domain with the server ip and it done.
Other Solutions:
You can choose any solution that familiar with you to setup SSL for the blog:
Examples:
- Setup reverse proxy use Nginx and SSL with Let's encrypt: https://www.digitalocean.com/community/tutorials/how-to-secure-nginx-with-let-s-encrypt-on-ubuntu-22-04
- Ghost with Traefik: https://tech.aufomm.com/deploy-ghost-with-docker-and-traefik-2/
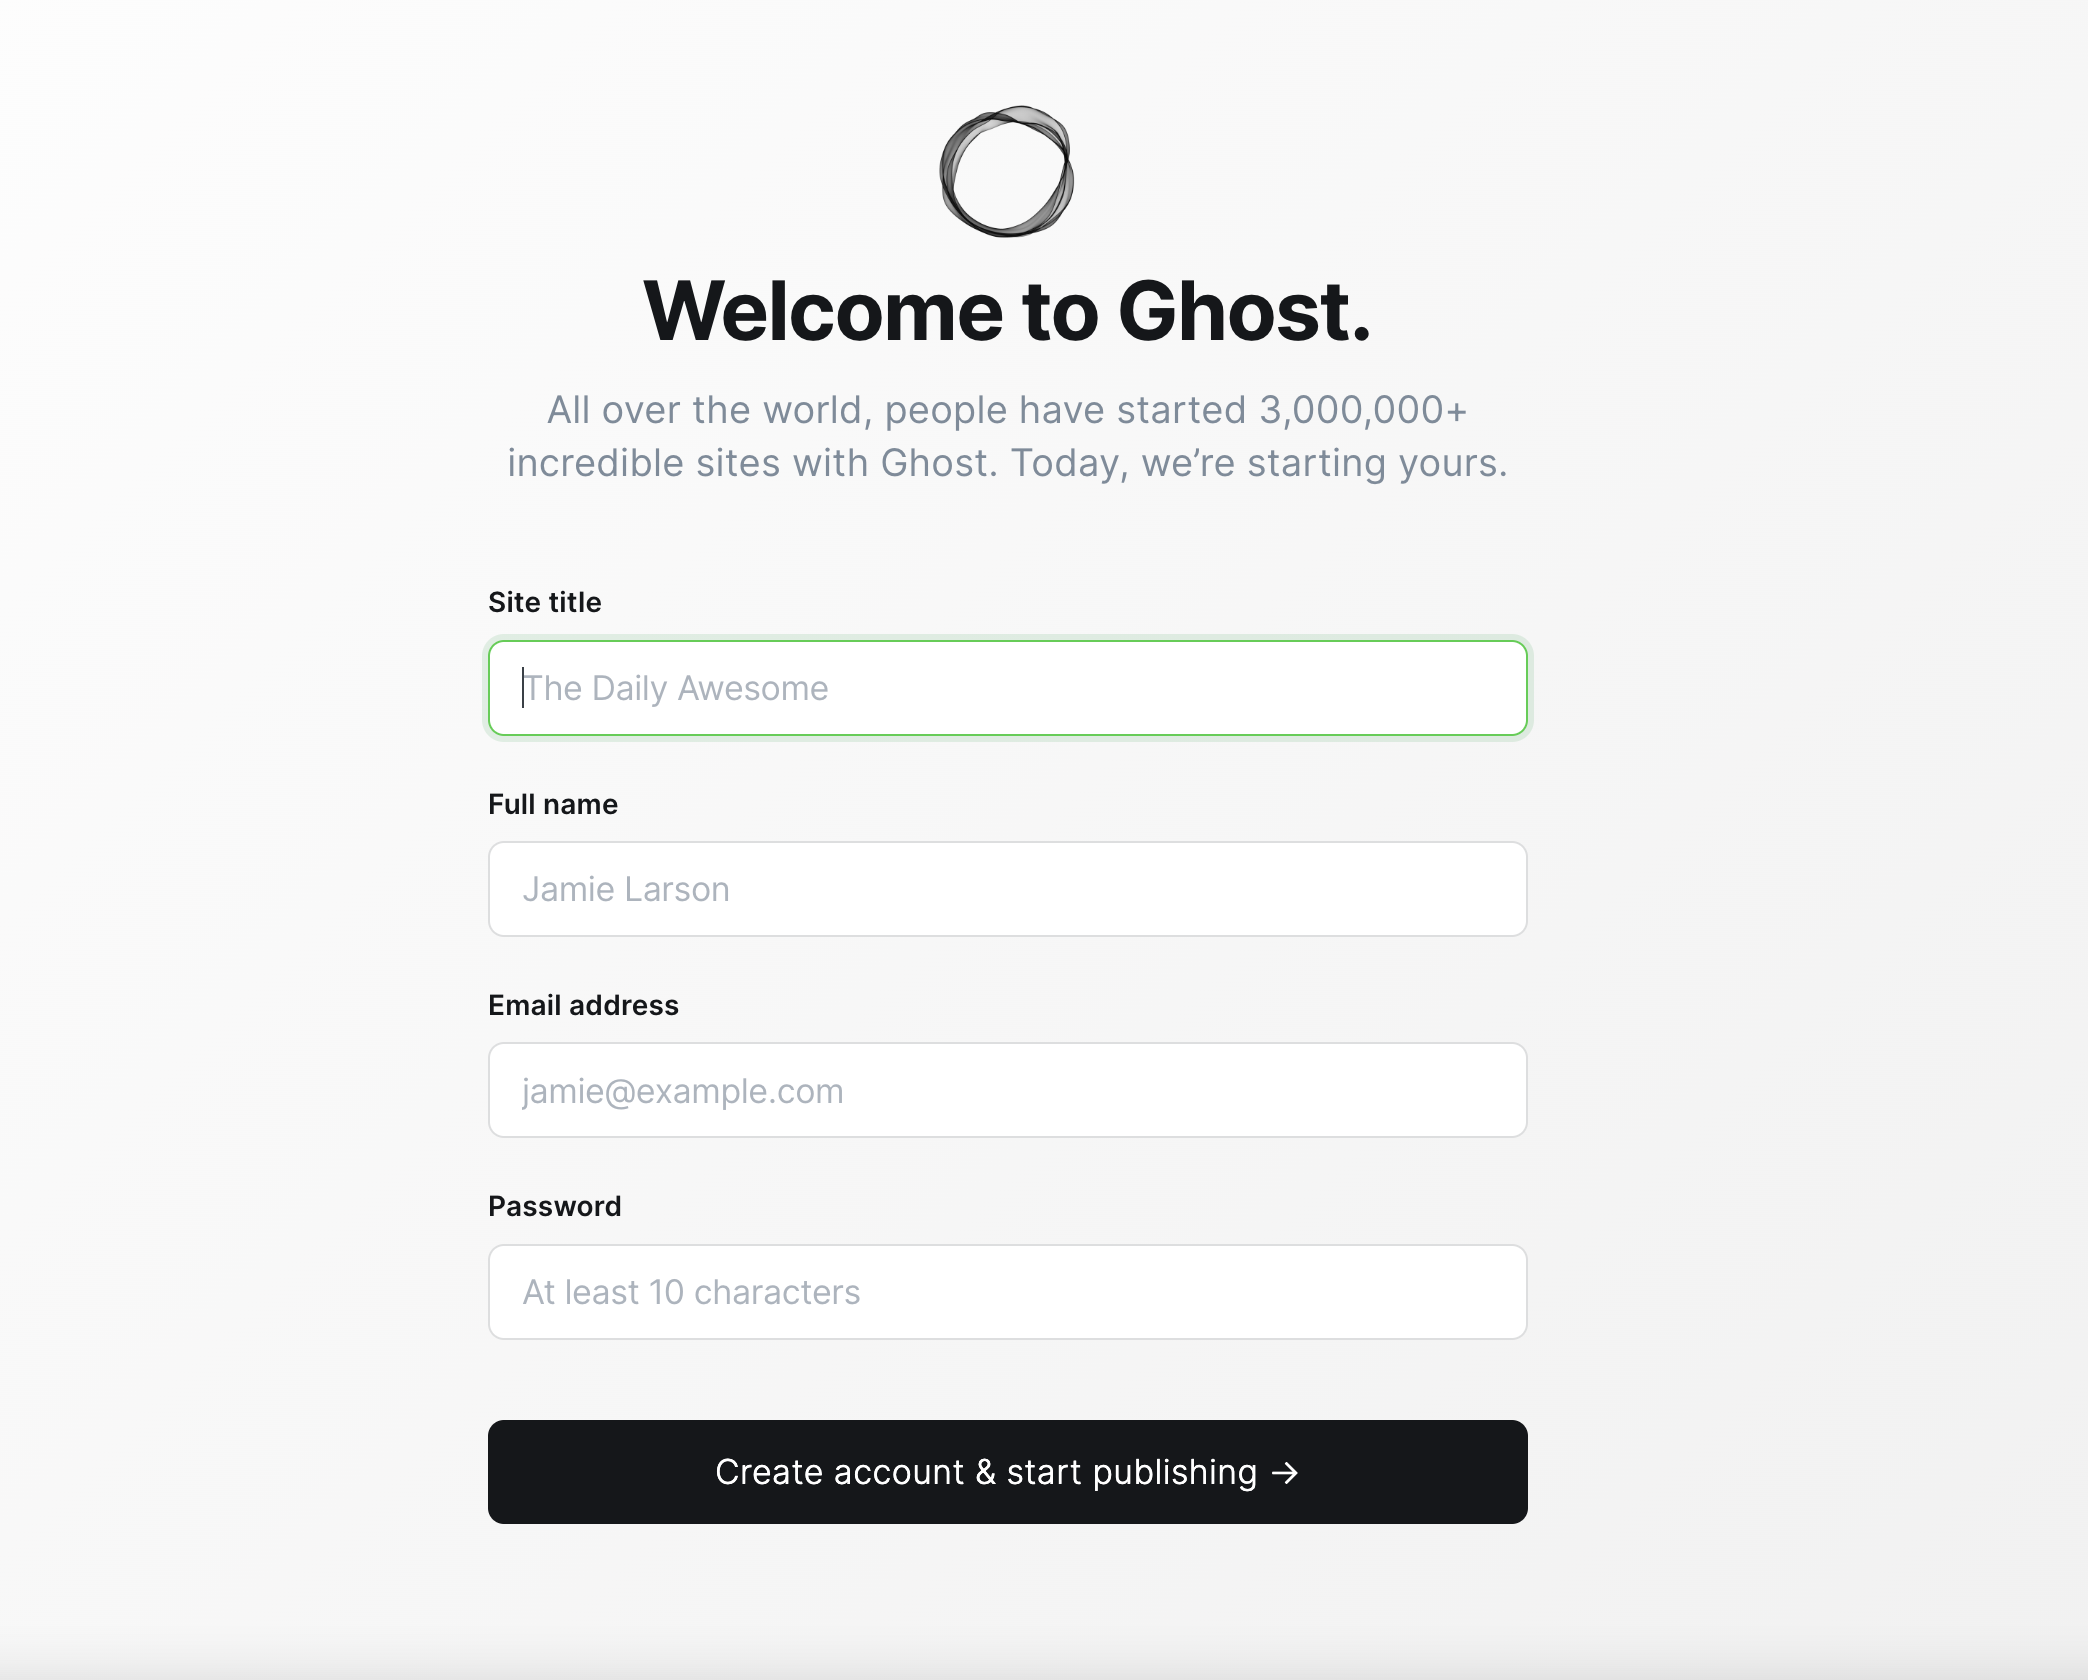
Step 4. Setting up the Ghost blog
Now you can go to the ghost admin at: https://<your-blog-domain>/ghost and starting to setup the Blog:
Init Admin Account, Site Title:
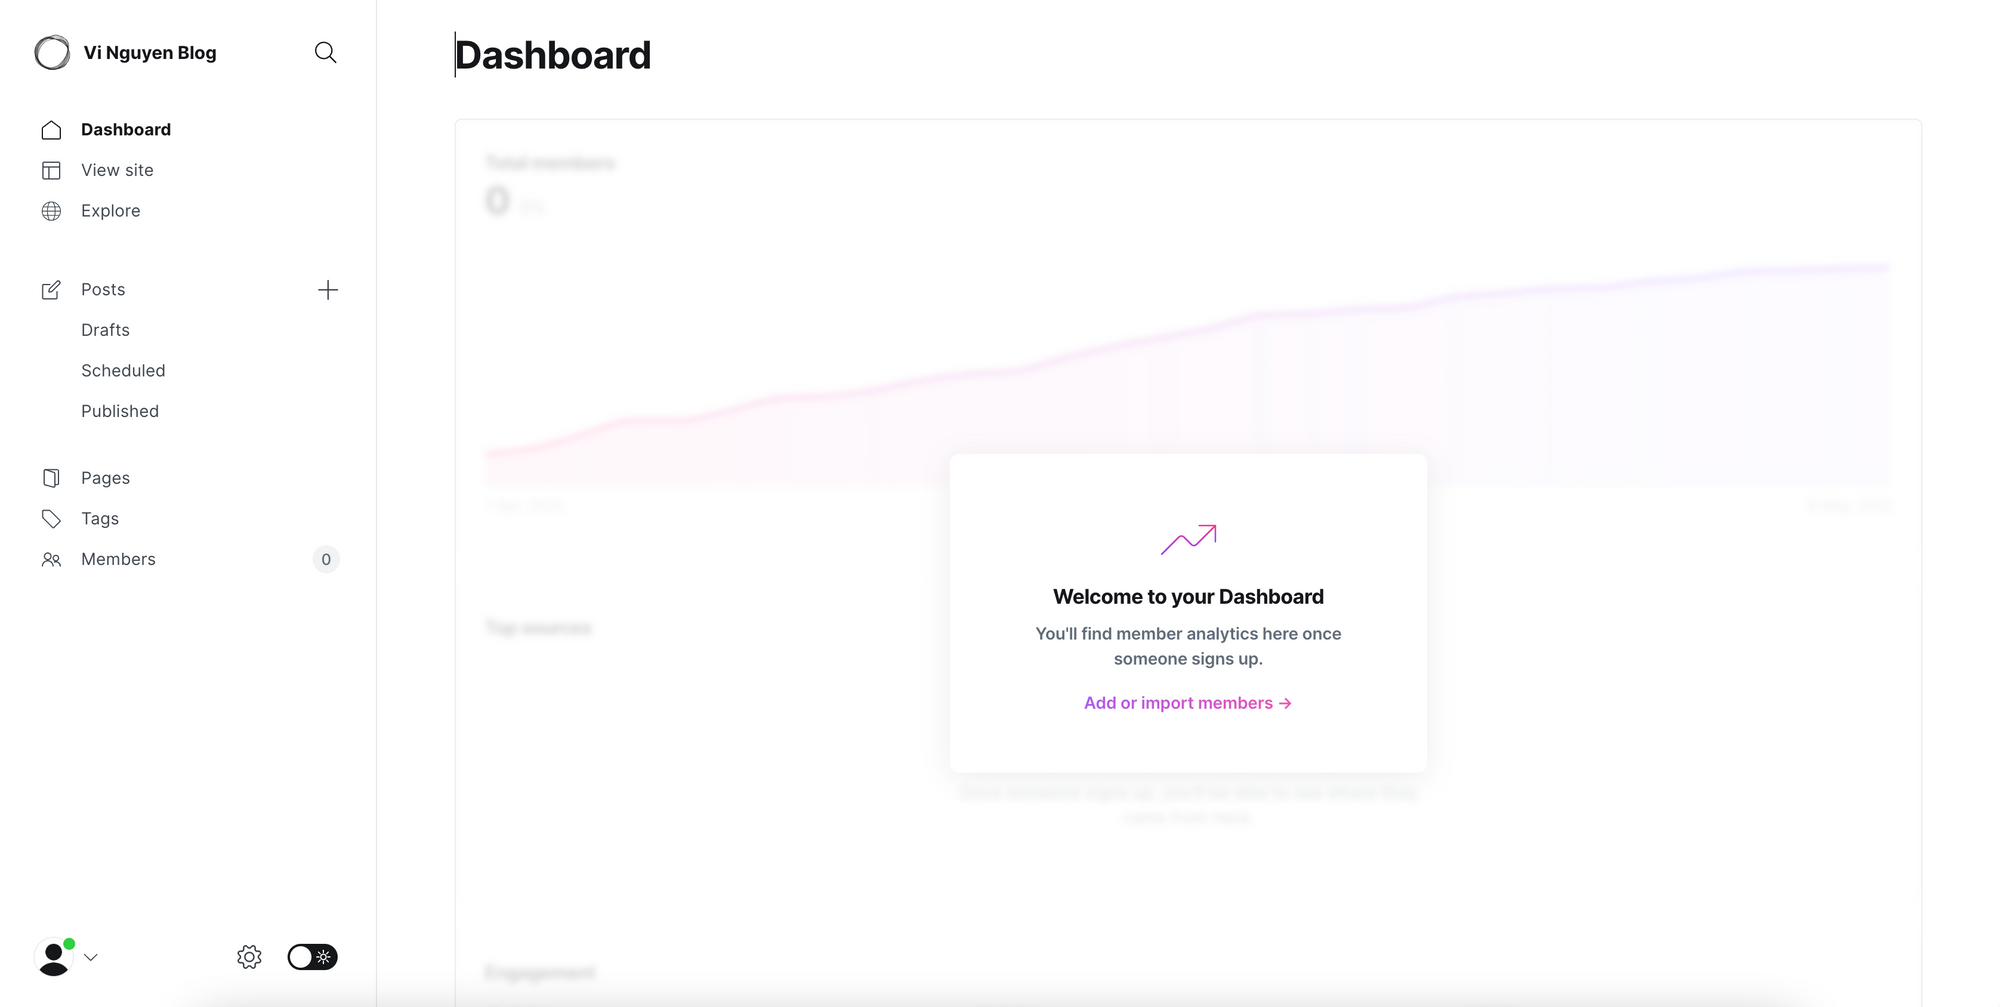
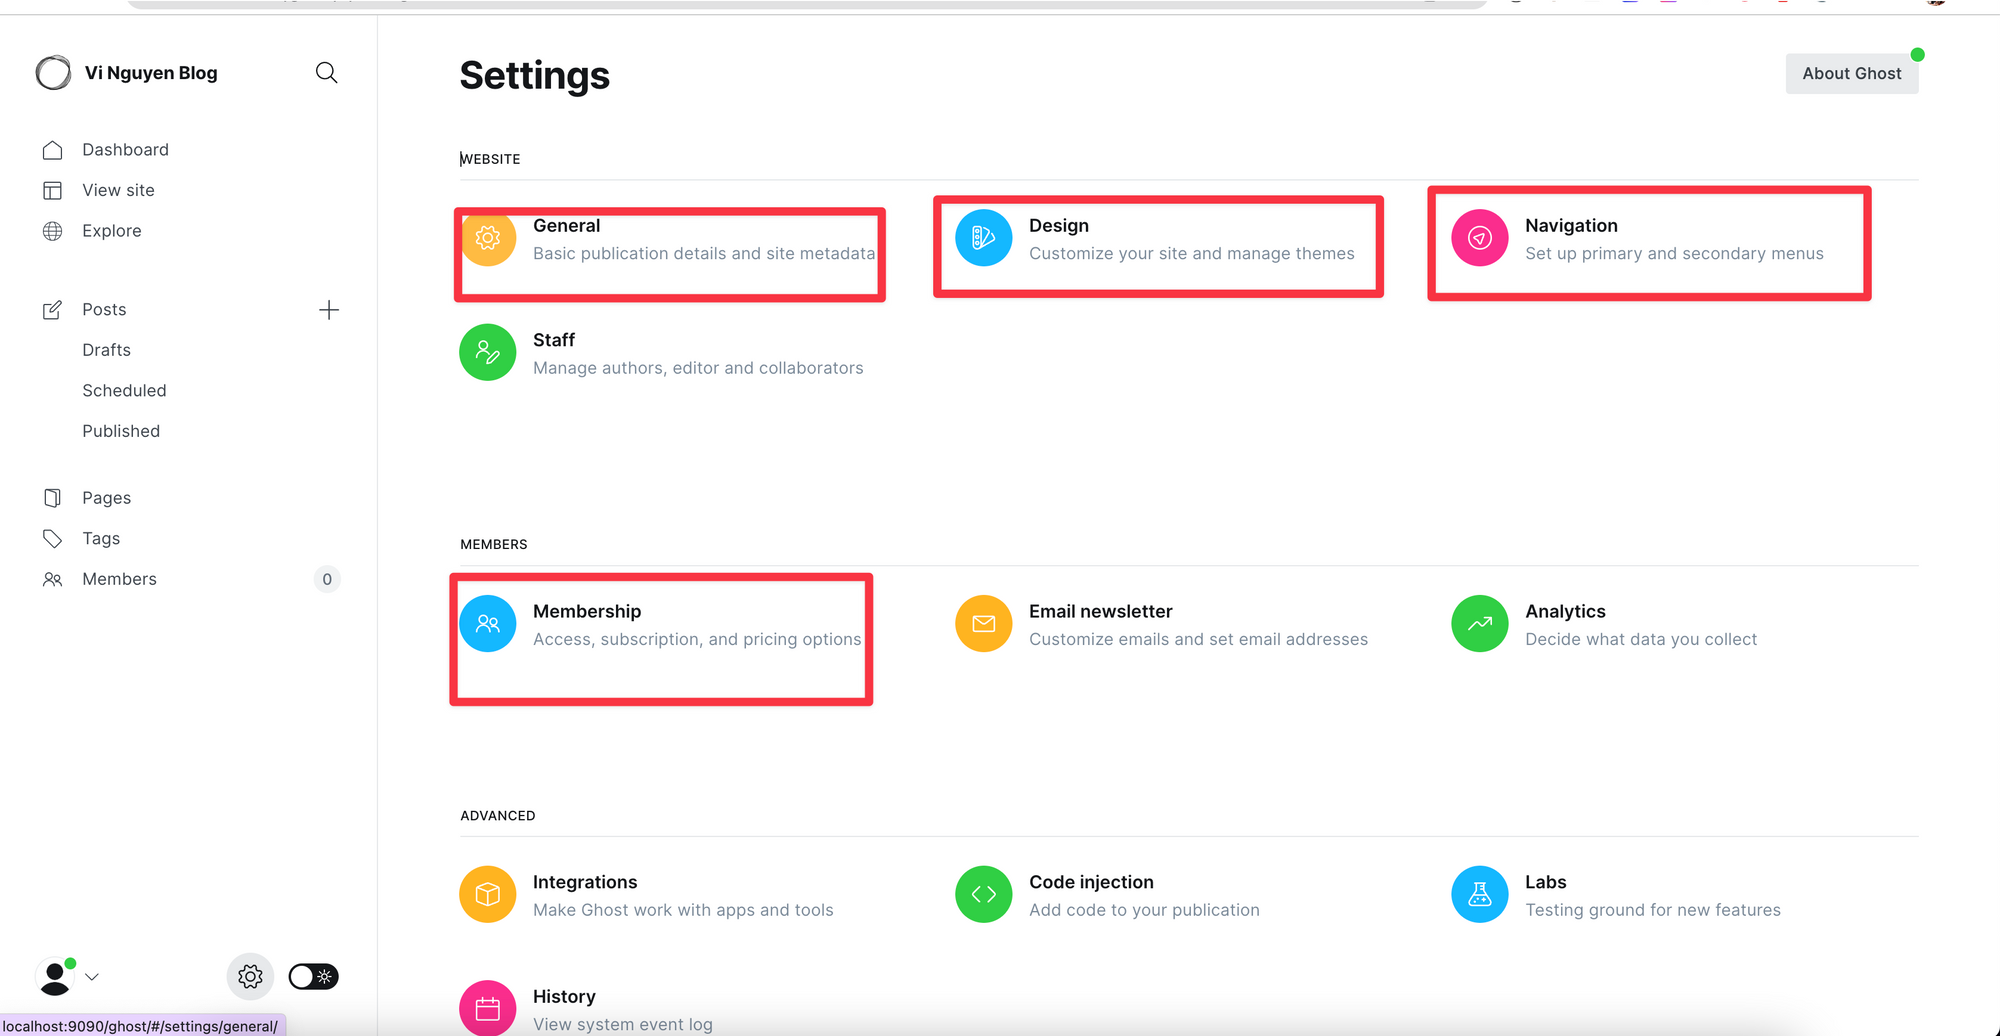
Explore the Ghost Admin & Setting up
Some suggestion that we should consider top setup:
- General information
- Ghost theme
- Navigation
- Membership setting
Create your first post and publish: click the + button next to Posts, which will take you to the post editor.
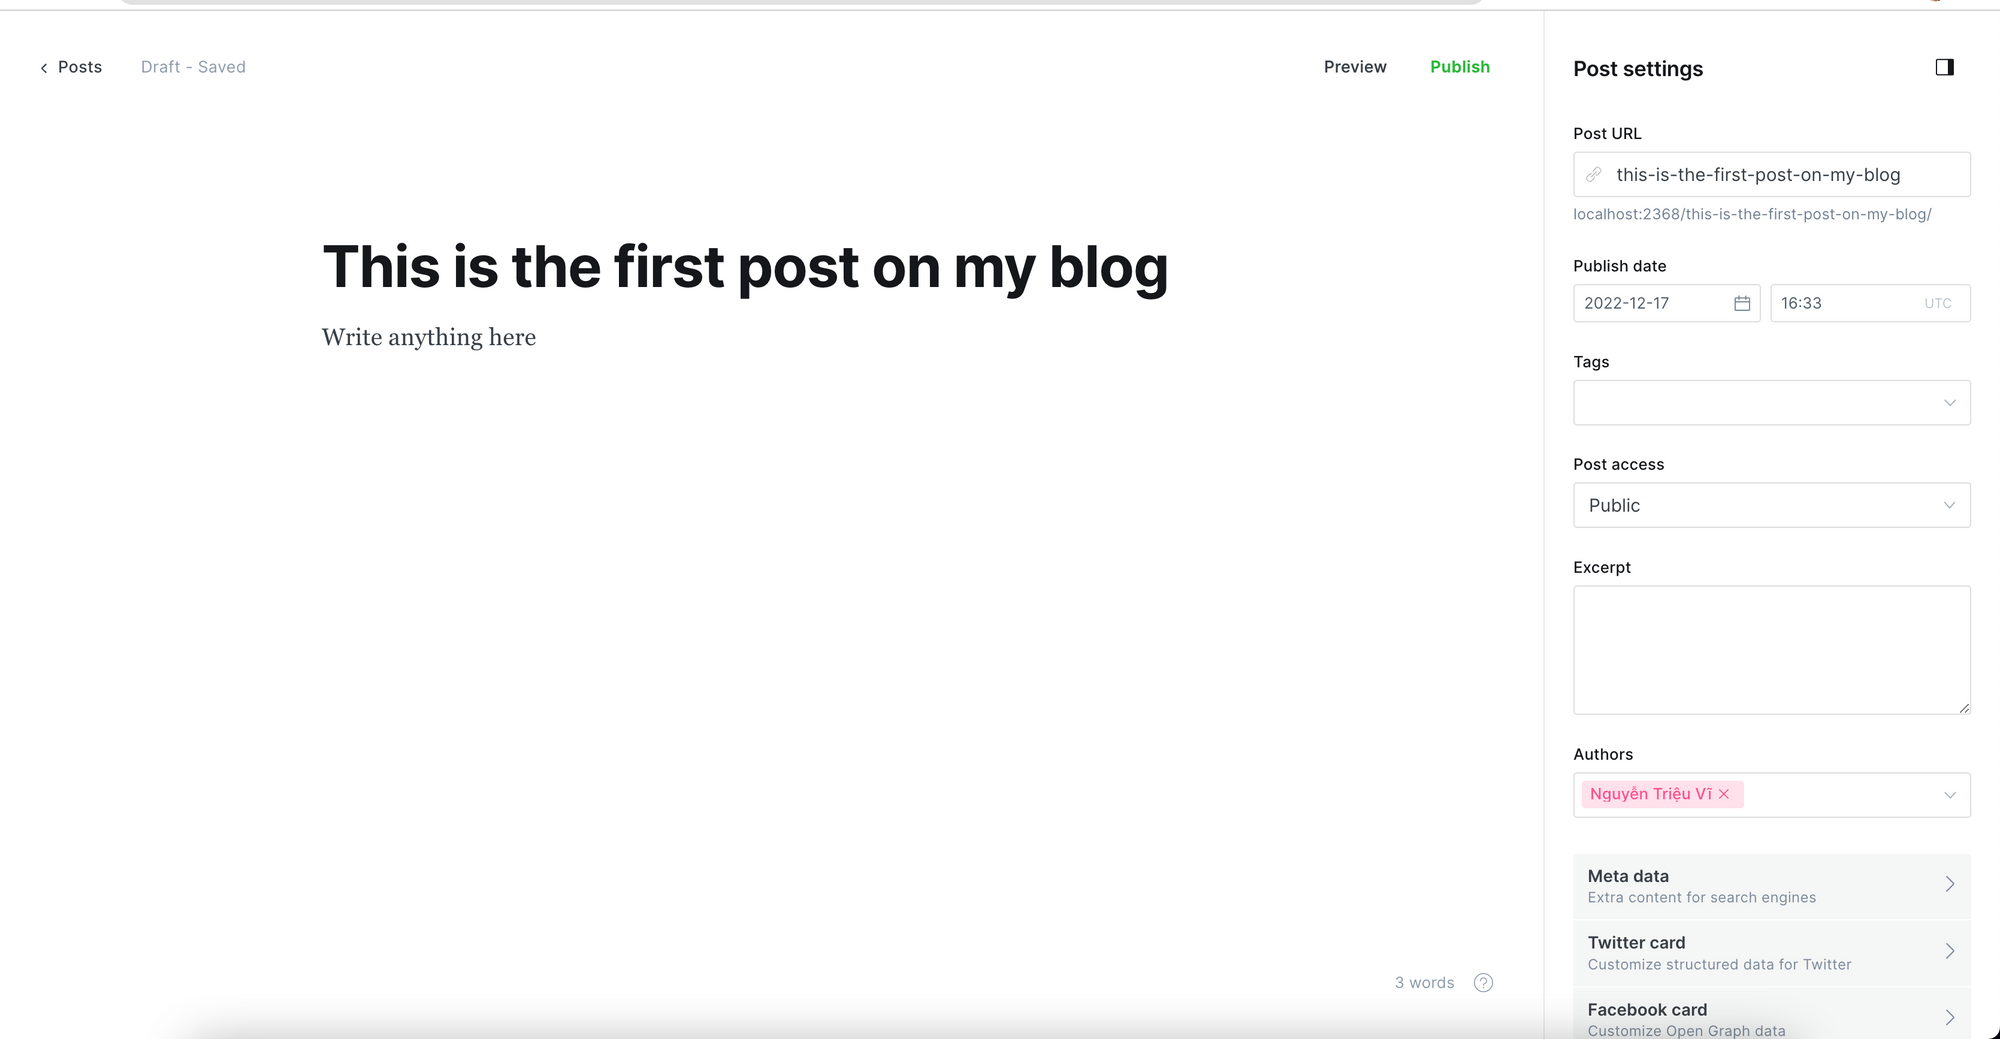
Check more at: https://ghost.org/tutorials/
Conclusion
In this post, you guided to quick setup a new Ghost blog by docker, that help you can easy to start, maintain & extend your blog on the feature.
Next post on this series, I make it more reliable, safe, trackable, and give the data to improve the blog. thanks for read this.