Blog development series - Setup health check Ghost Blog with Uptime Robot

TLDR; This is a series of post-recording & sharing the progress setup of my blog from the beginning of development to meet the needs for stable and reliable blog operation
Series
- Blog development series - Setup MVP Blog with Ghost and Docker
- Blog development series - Setup health check Ghost Blog with Uptime Robot
- Blog development series - Backup Ghost Blog with Storj
Context
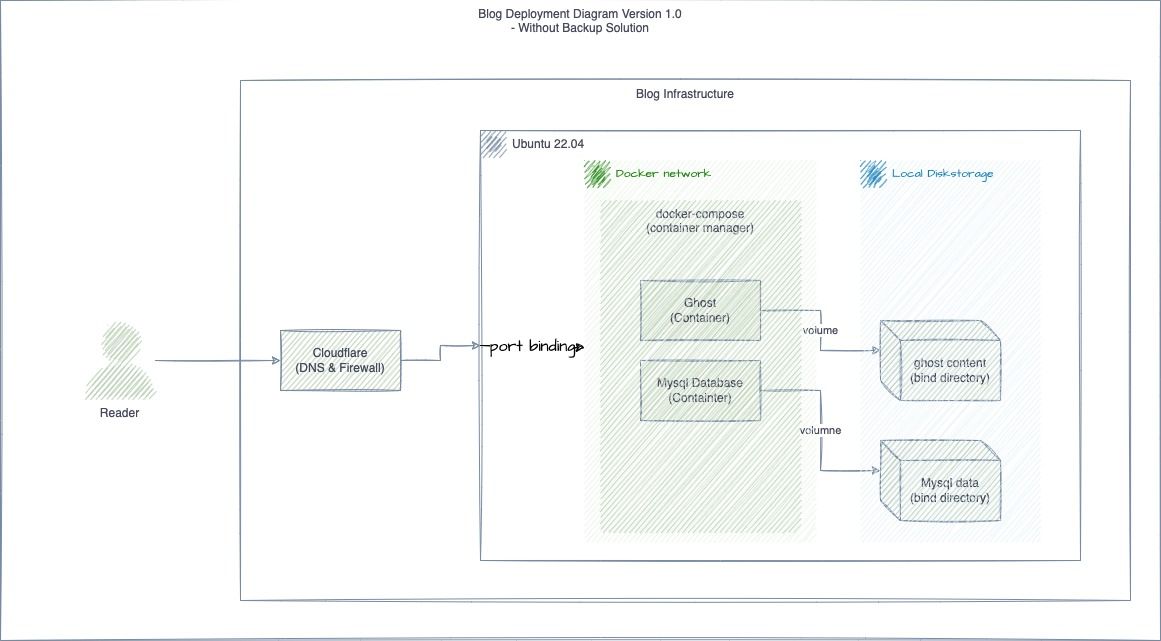
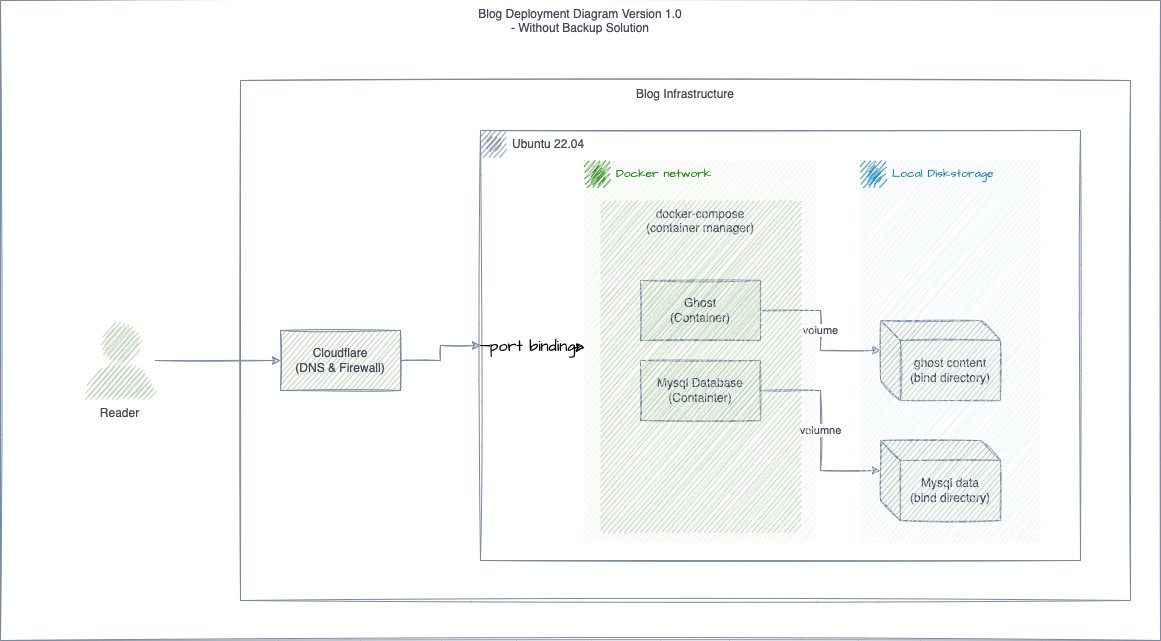
This blog is a simple monolithic application deployed with docker & managed by docker-compose running 2 containers: Ghost 5.3 & Mysql 8.0 as the diagram bellow
Why I need to setup health check tool?
As a owner & operator of this blog, I want to know status it and make sure that it's online & server request for user when they need to read content from blog. If my blog is down, I want to receive alerts to handle it as soon as possible and keep the blog is high avaibility
What should I setup?
With that goal ( monitor status of blog), I usually use Uptime Robot as a a simple solution and easy to setup that enough for me to monitor blog & receive alerts if my website have problems.
Uptime Robot a free online service that monitors your website, it'll sent request to your application every five minutes, check the response status code and notifies if your website is down via email, mobile push notification, Slack, Webhook, ... It asks for website header and check the status code response linke "200 -ok", "400- not found". If the status doesn't indicate any problem, your website is up & running. If the status code is 400+, 500+, then your website down, Uptime Robot will doing some several checks for next 30s to make sure that your website is really down then notifies alerts via pre-config target ( email, mobile push notification). Your can have more additional feature if subscription the premium version, check it here: https://uptimerobot.com/pricing/
How Can I Setup?
Step 1: Register a new account:
- Go to Uptime Robot ( with my ref code) to register new account on Uptime Robot, no credit card is require, only need to verify account via email
Step 2: Create New Monitor
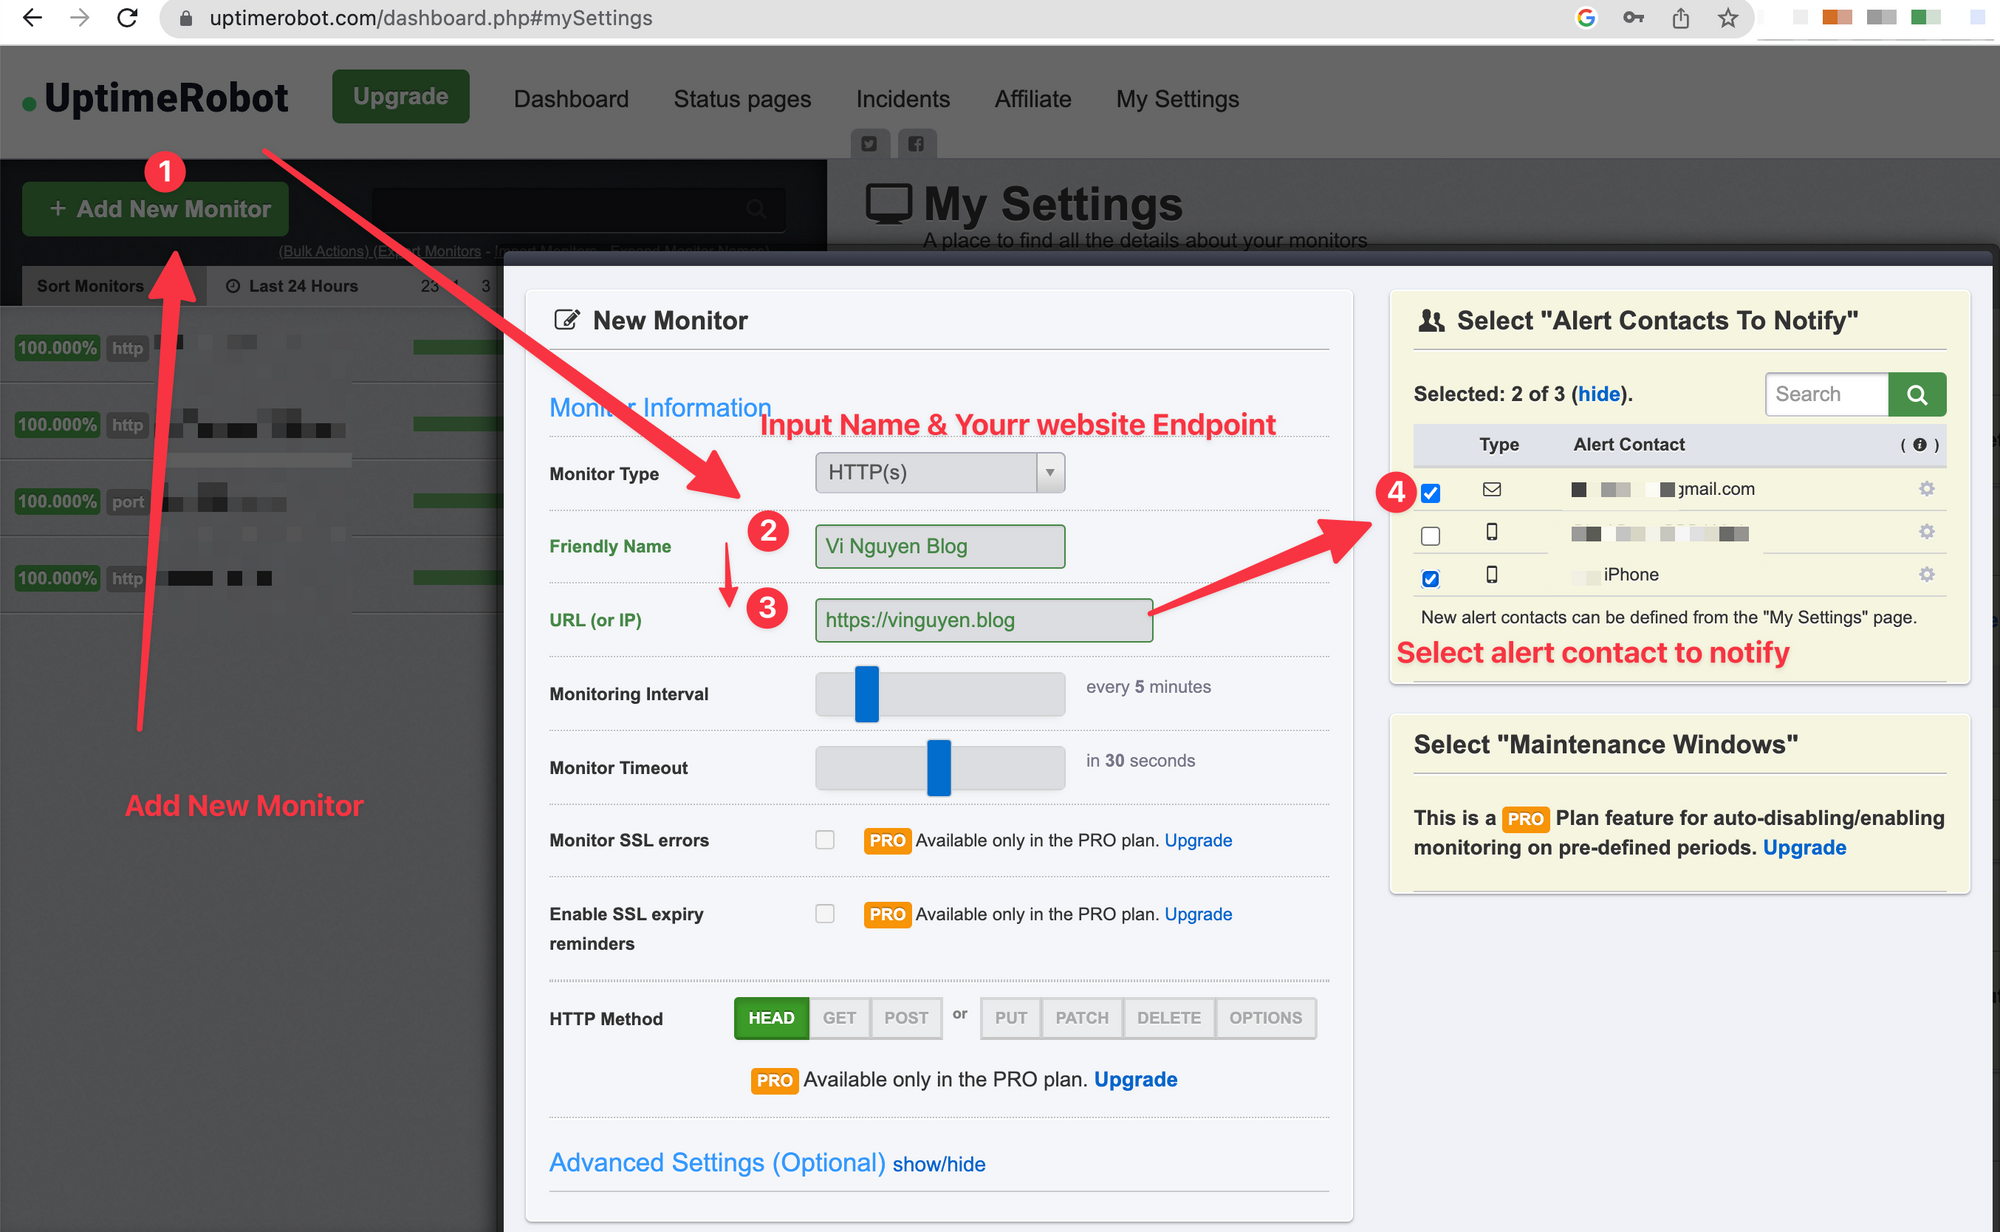
- At the home page of Uptime Robot, click Add New Monitor button, then input the blog/webisite information
- Friendly Name: Any things that help you easy to detect your website, example: Vi Nguyen Blog
- URL: your endpoint/ip that you what to monitor: example https://vinguyen.blog/
- Alert Contact: check the contacts that you want to receive alerts if your website is down
- Another configuration: only available on premium version
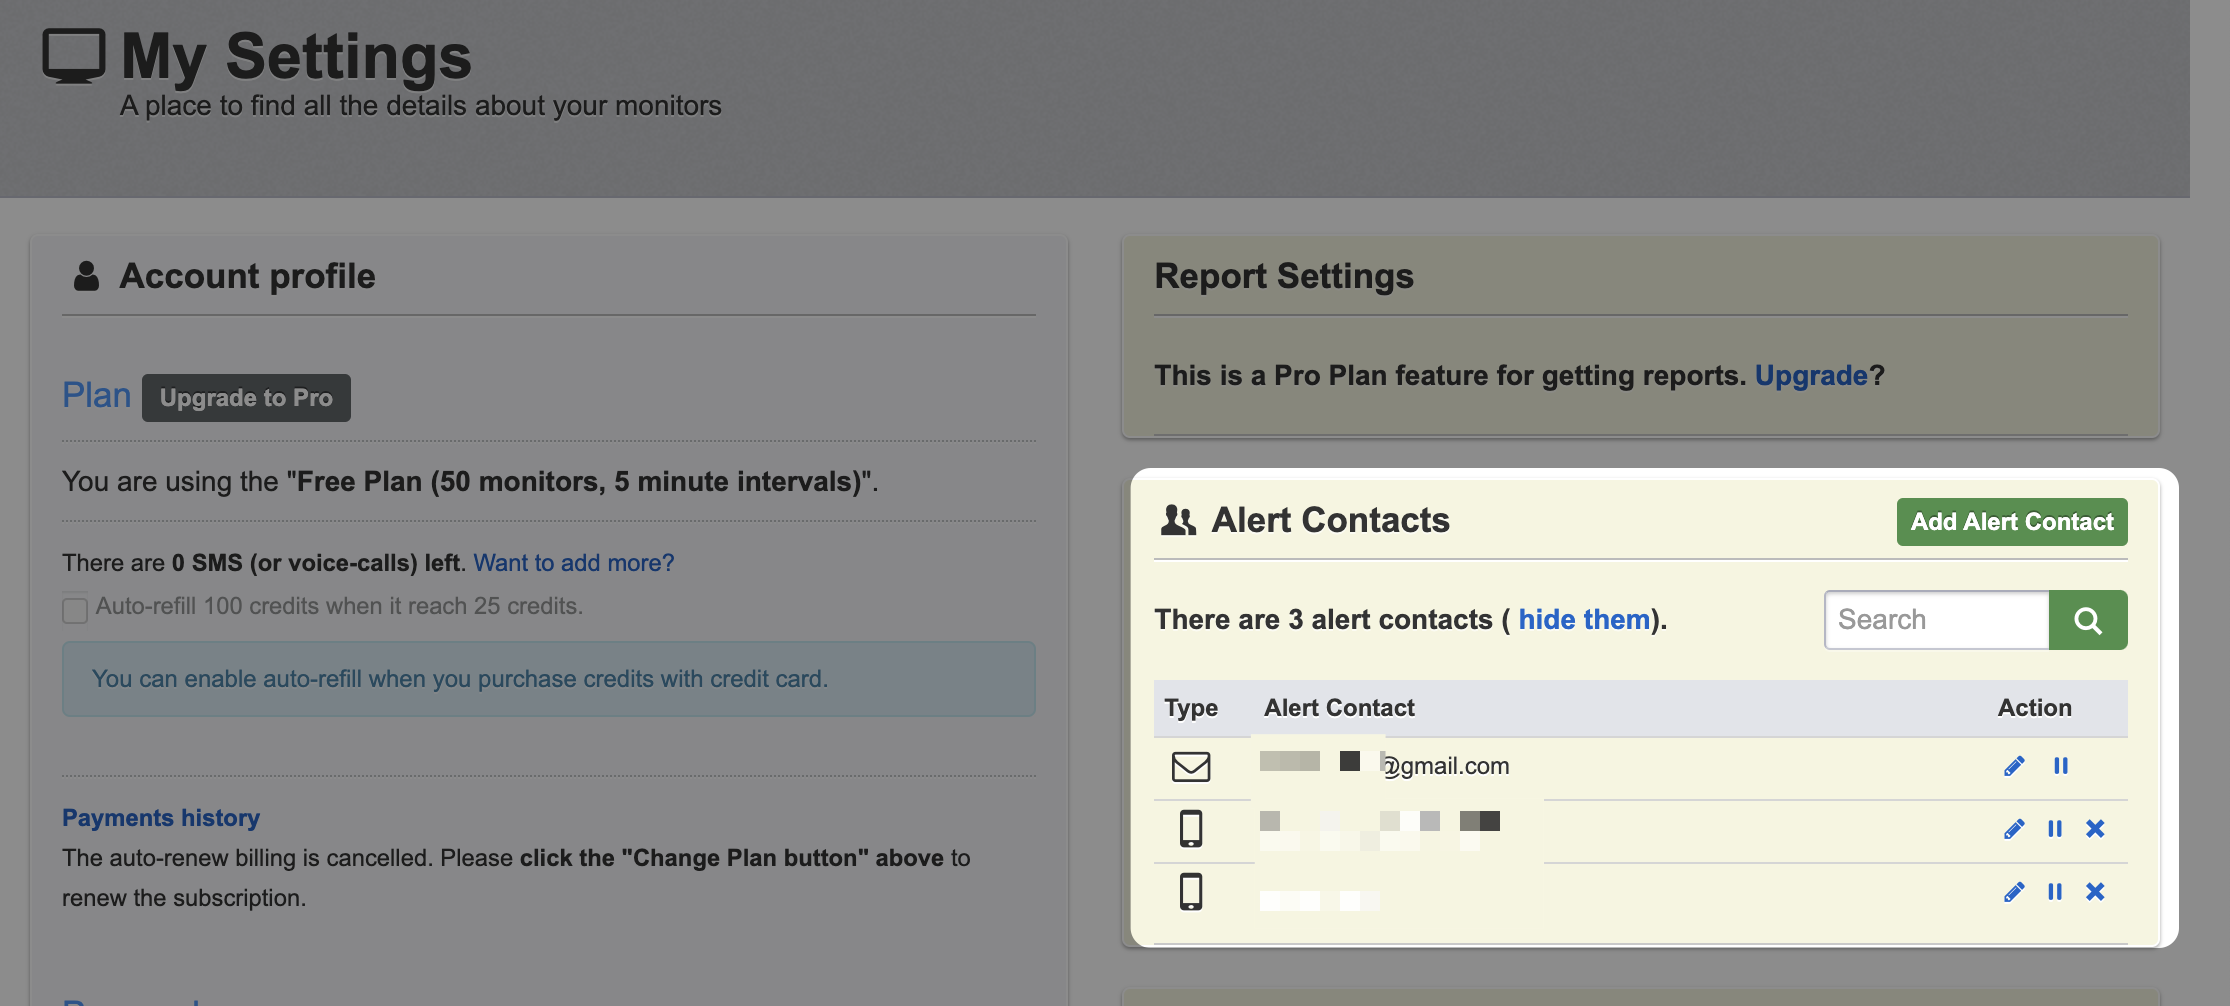
Note: Your can manage the Alert contact in the Setting: https://uptimerobot.com/dashboard.php#mySettings
Step 3: Waiting for Uptime Robot checking & make sure that the blog is up
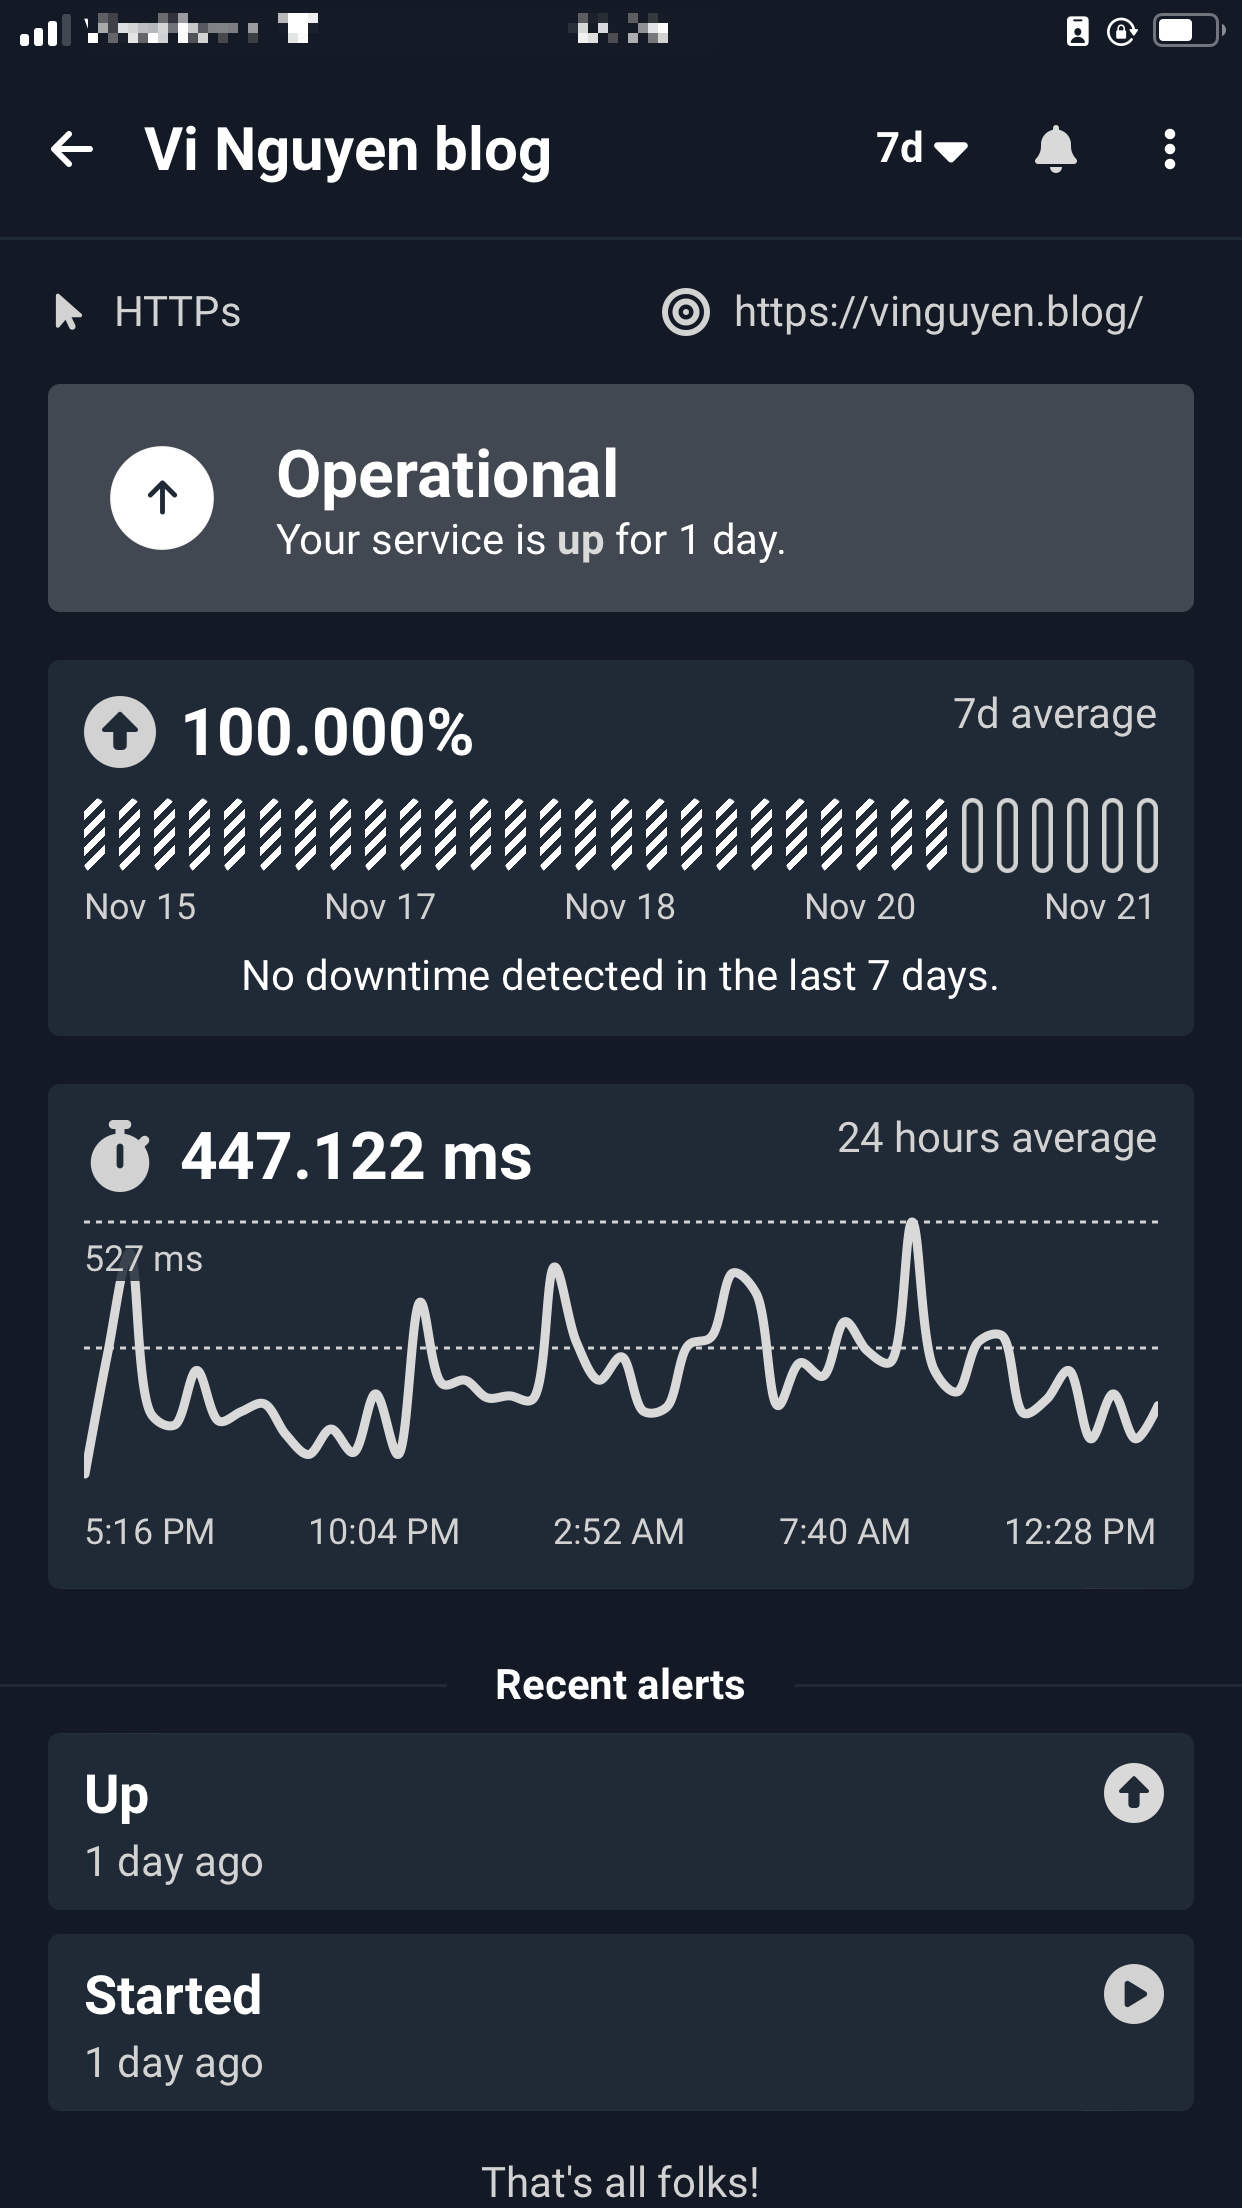
After input the data and create new monitor, you should wait for some minutes the refresh the website, to make sure your blog/website is scanned & up

Step 4 (Optional): Install mobile app and login, to receive notify alert
- if you want to receive push notification on your mobile, install app (avaialbe on Appstore & PlayStore), the login your account on mobile app, then if alerts happen, it will push to your device ( if you are already config on the alert contact of monitor).
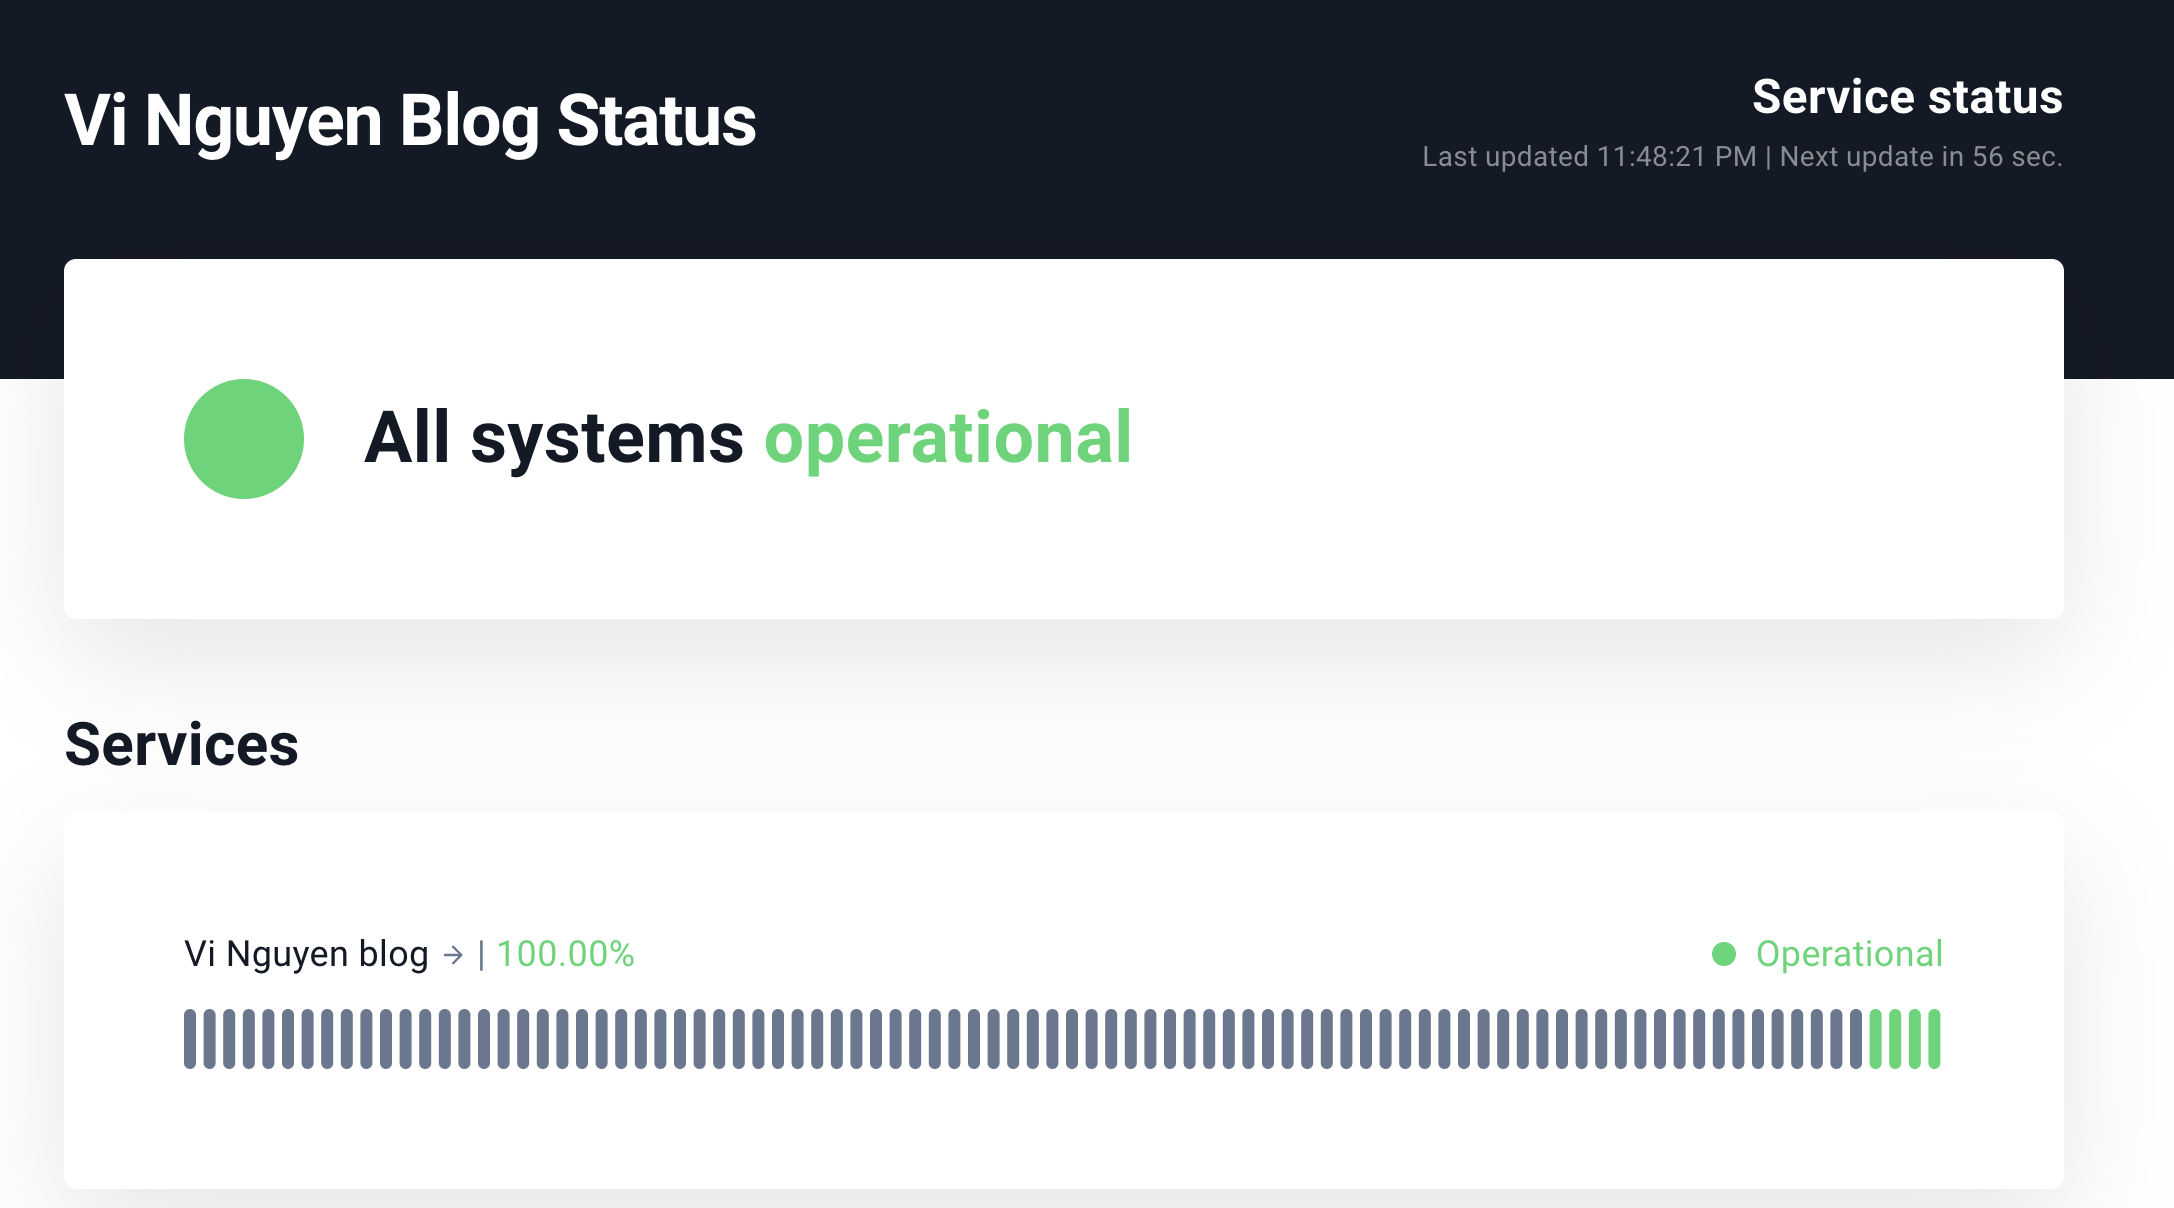
Step 5 (Optional): Create new status page and publish it to publish your blog/website status
- Go to Status page config https://uptimerobot.com/statuspage.php
- Then create new Status page
- Add/remove the monitor that you want to show on the status page
Limitation of Free version: You can not map a custom subdomain ( ex https://status.vinguyen.blog to Uptime Robot Status page), you can only view as a random generate URL: https://stats.uptimerobot.com/4GR4Vtz5k5

Reference documents:
Affiliate link:
